Earlier this spring we remodeled our kitchen garden. The upper tier of the garden sat unproductive for almost two years (!) as we contemplated what we were going to do with the space. We finally decided to add more raised beds, drawing up several designs with various layouts. At the same time, we were in the midst of designing a new edible garden for another part of the property, which came to a screaming halt when the county government wouldn't issue permitting (more on this in a later post). Having already ordered fruit trees and 100 strawberry plugs in early winter for that new garden, we needed to come up with a Plan B.
Sometimes the best laid plans often go awry.
So it was back to the design board for our kitchen garden. Here is what we did.
 |
| East view of kitchen garden, looking from lower tier to upper tier |
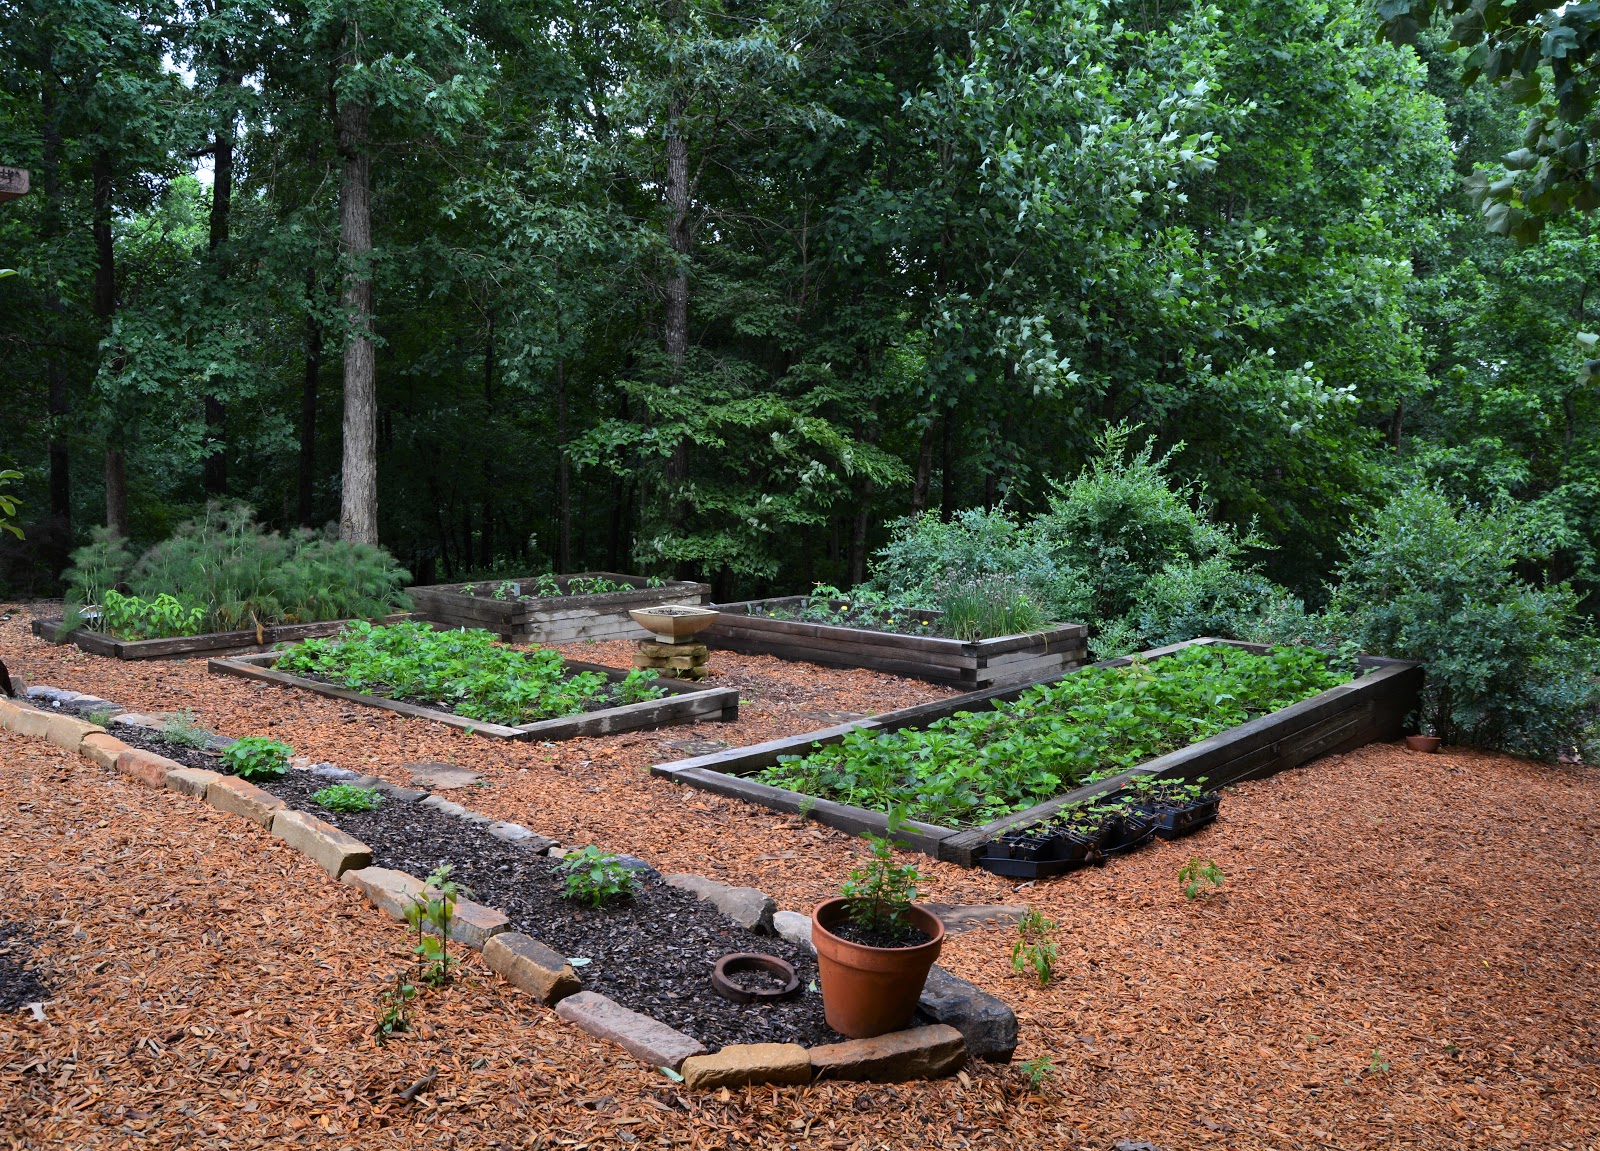
The lower tier is still home to the original raised beds, built 6 years ago, and a blueberry hedgerow that hides a retention overflow area. Half of the strawberry plugs were planted out in two of these raised beds (Bed #4 & #5). The other half planted in containers until we find a home for them. Bed #3 was planted with four varieties tomatoes, dill and marigolds and Bed #2 with seven varieties of hot peppers including Jalapeno, Ghost Golden Cayenne, Sweet Banana, Hot Banana, Habanero, Fresno Chili and Serrano. Bed #1 is waiting for some love. I need to pull out the bronze fennel that has taken over that bed and rehome them so I can plant more fun edibles there.
 |
| Raised beds in lower tier |
We abandoned our original plan of adding more raised beds to the upper tier garden and created a mini orchard to house the six apple trees (Gala, Granny Smith and Fuji) we ordered. As this area is deceptively sloped, we first had a contractor in to level the space. The original fence was moved back 6 feet, giving us 1,200 sq. ft., and some of the posts that were showing signs of rot were replaced. What a difference this made! It is now a much happier space. The garden feels roomier, the water management greatly improved and it's visually more appealing.
 |
| Mini orchard with 6 apple trees |
At the same time, we added a stack stone wall and pathway on the east side of the orchard that runs along the back side of the fence. This continues the path from the other side of the driveway, providing continuity. It also better defines the flower bed at the top of the hill, anchored by a seven year old brown turkey fig and wildflowers that bring in many native pollinators.
 |
| new stackstone retaining wall and path |
 |
| closer view of short wall and driveway through fence |
As we added this new wall, it seemed the right time to update the retaining wall that divides the lower (raised beds) and upper (orchard) gardens. This wall, previously constructed of bricks, now complements the new wall along the pathway so when looking up the garden from the East it is harmonious.
 |
| new retaining wall dividing orchard and lower garden |
My idea had always been to grow edibles along the top of the old wall, but I never executed that plan. Once the new wall was installed, I was determined to make it happen. We simply placed rock pavers to outline the growing bed and added some composted soil to amend the existing clay creating a better growing medium. This space is now the new herb garden.
 |
| New herb bed |
I
transplanted some of the herbs that remained in raised Bed #1 to the new garden; planting out the rest of the space with several varieties of thyme, oregano, sage, basil and lavender.
Along the north facing fence we transplanted our lone surviving pomegranate tree. It looks like the other two pomegranate trees that we ordered this winter as bare root plants didn't survive.
 |
| Bella taking a break near the kitchen garden |
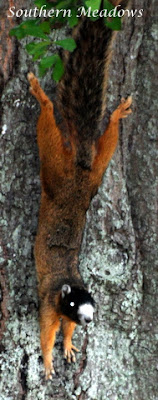
We moved this small table and chairs from another part of the garden, so that we have a shaded area to sit and enjoy the remodeled kitchen garden or take a break while harvesting our edibles. Even our dog Bella approves, taking a uncharacteristic break from her patrolling duties. She is excellent at keeping the squirrels hiding in the trees and the chipmunks in their burrows.
I'll be adding more containers with edibles as well as incorporating more flowers and companion plants, but for now the framework is complete.


.png)